


If you want to build a hard-scaped smokeless fire pit yourself, you’ve basically got two choices. You can completely DIY the whole thing — including figuring out the airflow that actually makes it smokeless — or you can cheat a little bit. We chose option two.
Quick Links to the products mentioned in this post:
- Breeo Zentro (Use code BBQLABZENTRO to save 5% on your Breeo purchase)
- Breeo Adirondack Chair
- Breeo X Series Bench
- Breeo Quick Split
- Retaining wall blocks
- AirChef Torch Gun
A little over a year ago, Melissa and I purchased this former wedding venue to move The Barbecue Lab out of our suburban home and out to some acreage. As we understand it, the weddings used to be held right here under this pergola.
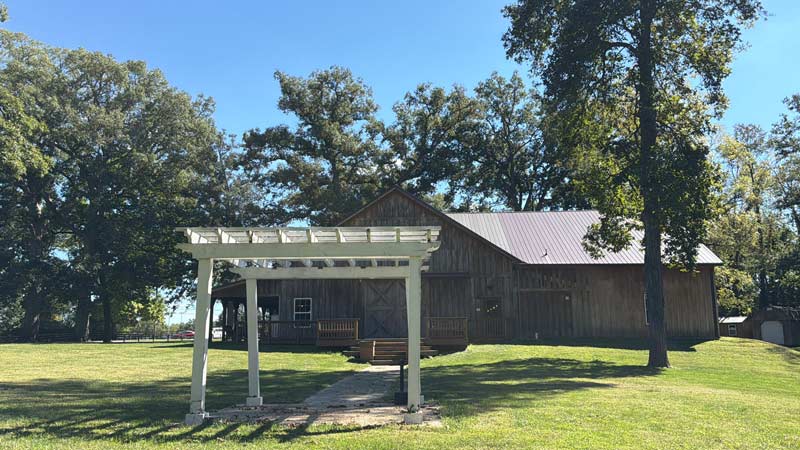
However, the years have not been kind to it, and it stands bent and crooked, ready to be replaced after decades of nuptial bliss. Since purchasing it a year ago, we really hadn’t even found a use for this space. It was a sidewalk to nowhere. What we really wanted in its place was a smokeless fire pit, but the rotten wood pergola needed to go first.
Clearing the location for our smokeless fire pit
Taking the pergola down proved about as easy as we suspected. After my dad removed the braces from the base of each post, all it took was a satisfying push to knock the whole thing to the ground. 30 minutes with a mini chainsaw, and we had the whole thing disassembled and in the dumpster, leaving us a fresh slate in our outdoor space to design our new fire pit.
How do you make a permanent fire pit smokeless?
We’ve recently written an article explaining how smokeless fire pits work, so I won’t go deep into that here. The important thing for this project is that smokeless fire pit design is all about airflow and secondary combustion.
Now there are a lot of clever creators out there building their own inserts and engineered block designs to achieve this smokeless outcome. But Melissa tells me we are not those people anymore.
After our DIY outdoor kitchen project 6 years ago, she has DIY PTSD, and so semi-DIY is about all I can talk her into these days.
So for this project, after demolishing the pergola, we did about an hour’s worth of labor and let the professionals take care of the heavy engineering.
How we cheated:
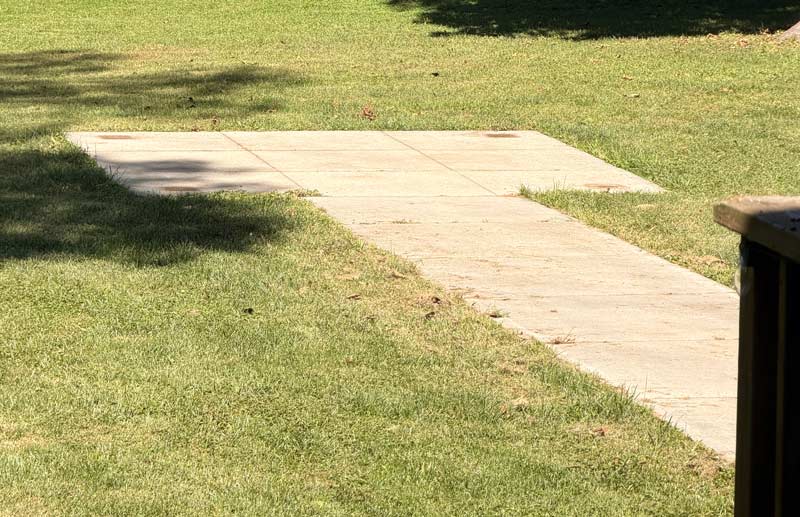
Fortunately, one thing that made this project considerably easier for us is that we already had a flat concrete pad. If we were building this over dirt, there would obviously be a lot of hard work involved. We got to skip all of that.
By cheating, we did NOT have to:
- Dig a giant hole in our backyard 6 inches deep with a shovel.
- Lay down landscape fabric to keep the grass and weeds from spoiling what we created.
- Fill the inside of our fire pit with sand, pea gravel, or any other type of insulating medium.
What we needed was the ability to DIY the easy part—the stone surround—without having to DIY the part that actually makes the fire pit smokeless. That’s exactly what the Breeo Zentro is designed to do.
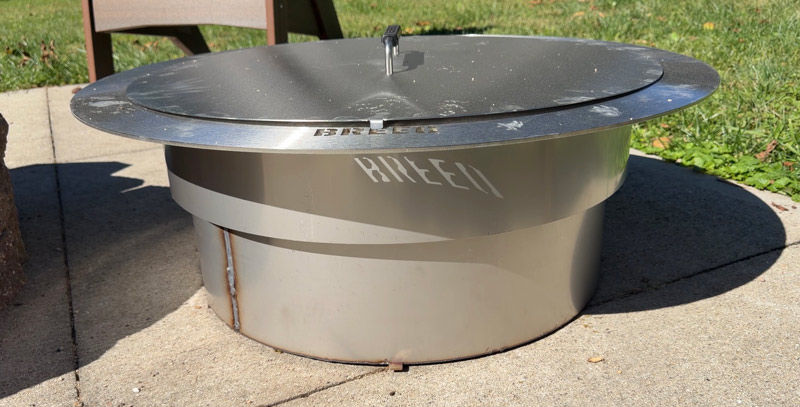
This is the Zentro, and it’s available in both 24- and 30-inch round sizes. Actually, they also make a square variety as well.
The Breeo Zentro is designed with the same X airflow system as their X-series fire pits, but instead of air entering through a vent in the walls, the flange has spacer brackets to let air in. We have the 24-inch insert, so we needed to make a stone surround between 26 and 32 inches in diameter.
By cheating, we did NOT have to:
- Drill holes in a metal ring to fabricate smokeless engineering that we just hoped would work.
- Experiment with brick placement to achieve proper air flow.
- Settle for a smoke-filled fire pit experience.
Before we go on, we would like to thank Breeo for providing the Zentro and fireside furniture for this project.
Building our DIY fire pit surround
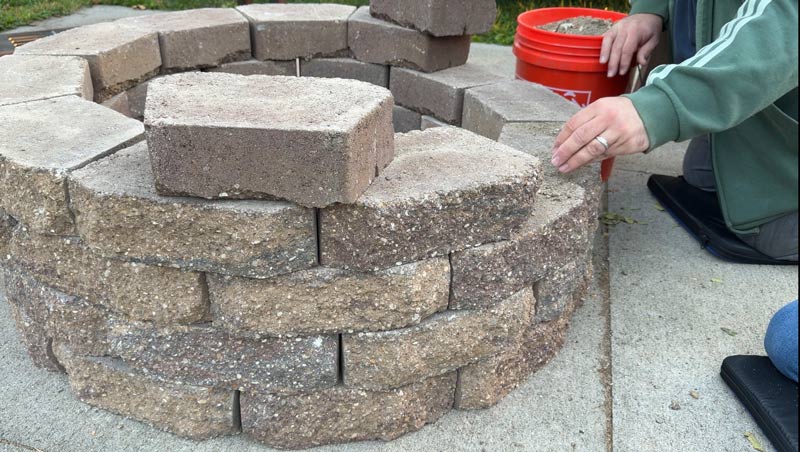
There are many ways to build your own fire pit, but we wanted to keep ours as simple as possible because…. Melissa. A trip to the local home improvement store gave us many options to build a block circle, but in addition to being easy, we like being economical in our builds, and we chose the beveled retaining wall for both the look and the price.
The bricks we chose were about $1.67 per block, and 10 bricks make a circle that’s 24 inches for an internal dimension. We need a minimum of 26 inches, and by adding an extra block per row, we had the correct size for the insert.
How deep should it be?
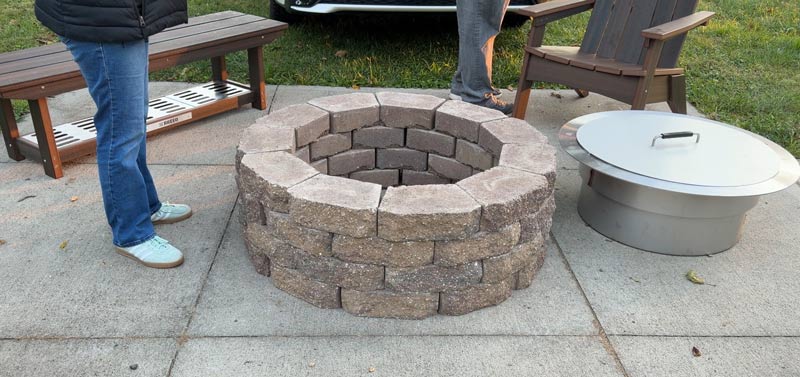
The Zentro itself is 12 inches tall, but Breeo calls for the surround to be at least 15 inches deep, leaving space underneath the insert for the air it needs to feed the fire. Four layers of bricks gave us the height we needed.
A tip for centering your fire pit ring
To get the measurement as centered and even as possible, my Dad helped us cut out a 26″ circle from the Zentro box as our guide. We set the bricks up against the cutout, and our circle had about a half-brick gap. Instead of cutting concrete block, we added in an 11th block and used the cardboard circle to even out the bricks so we had a good-looking circle.
The problem with retaining wall bricks
In order to use retaining wall as stackable bricks, first the lip had to come off the bottom of each brick, so I took a chisel and knocked off the bottom edge for a flat surface. Like a rookie, we only bought exactly how many blocks we needed, but accidentally broke 2 blocks in the process. Like so many of our DIY projects, it added another trip to the store for me, where I learned my lesson and knocked off the edges in the parking lot to make sure I didn’t break more and need yet another trip.
Making things level
After dry fitting the Zentro insert, we discovered that some of the bricks weren’t the same height, and we had a little undesirable wobble going on. So we brought some leftover paver base (which is a really coarse sand) from home that we sprinkled between the block layers as needed until we had a steady surround for the Zentro.
Is construction adhesive necessary?
Now, you’ve probably noticed that we didn’t even use any construction adhesive to hold these stones together. We could have. And maybe we will go back and do so later if we find it necessary, but right now, since it’s sitting on an existing concrete pad, it seemed like an unnecessary extra step that we decided to skip for now.
The Cost of Our Semi-DIY Smokeless Fire Pit
So what did our semi-DIY smokeless fire pit cost?
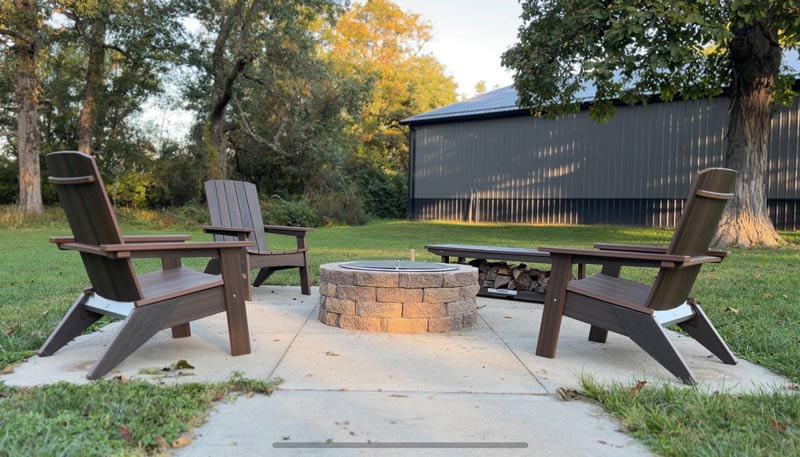
- Our final stone surround used 44 bricks, plus the 2 that broke, at $1.67/piece. That’s a total of $76.82 for the hardscape.
- The 24″ Zentro insert, including the lid, costs $1099, which Breeo supplied for us.
So that’s some real price contrast, right? A super cheap surround, with an expensive stainless steel insert. That begs the question, “what are you actually getting for that extra thousand dollars?”
Is an expensive insert worth it?
The Breeo Zentro provided a smokeless design that we’ve already tried, tested, and verified that it works. It required no metal fabrication, no vents for us to engineer, and no airflow experimentation by us. It gave us a simple drop-in installation with a finished stainless top and lid, offering a dramatically more finished appearance than our $76 of retaining wall bricks.
How to make an existing fire pit smokeless
And there’s actually an even easier version of this project. If you already have a brick or stone fire pit and the opening falls within the specified fit range for one of the Zentro sizes, you may not need to build anything at all and you could just drop in a Zentro to upgrade your existing fire pit to achieve less smoke.
Our first fire
Of course, all of this only matters if we actually ended up with the smokeless fire pit we set out to build.
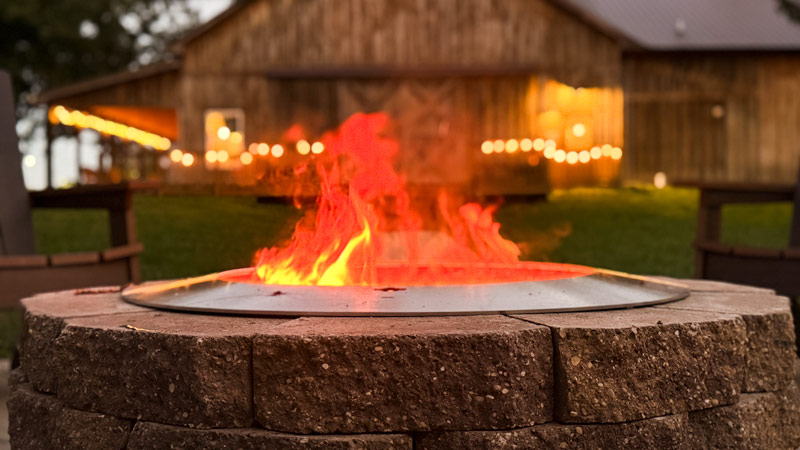
We brought the family out to the Lab during the evening and had the kids fire up the Breeo Zentro for the first time. They’re pros at it by now after all of the fire pit testing they’ve helped us with over the years. They split some wood into smaller splits and built a log cabin, scrounged around for some sticks and kindling to put in the middle and asked for a flamethrower.
It turns out a propane torch is way more fun than a lighter and wax fire starters.
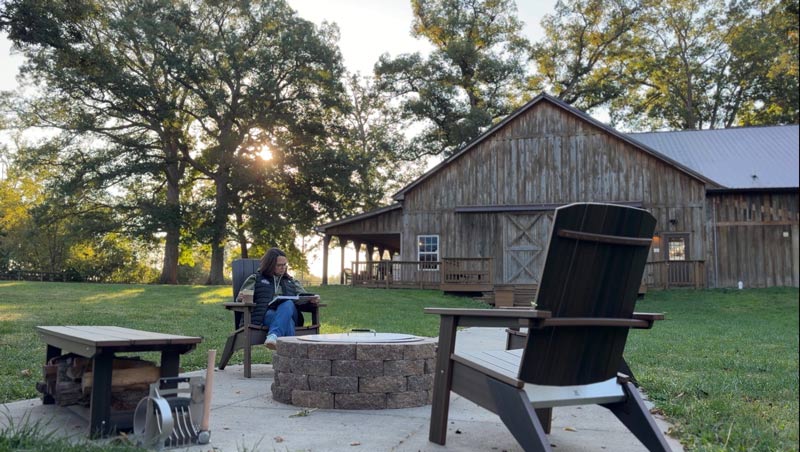
We sat around the fire, watched the kids turn marshmallows into carbon while making S’mores, studied for a 7th grade science test, and enjoyed a crisp fall evening around our new smokeless fire pit.
A few weeks ago, this was a rotting pergola that we never used, sitting at the end of a sidewalk to nowhere. For $76 worth of retaining-wall blocks and one admittedly very expensive shortcut, we turned it into a permanent smokeless fire pit that was honestly about as easy to build as we could have hoped.
Could you do this cheaper? Absolutely. If you’ve got the skills to fabricate your own insert and engineer the airflow yourself, there are plenty of ways to DIY the whole thing. But we’ve done enough DIY projects to know our limits.
We were happy to save money on the part that was easy and let somebody else engineer the part that wasn’t.
But we have to apologize if our production slows down in the coming weeks since our sidewalk to nowhere now takes us to Melissa’s new Happy Place. She promises she’ll get back to work eventually.
If you’re ready to take on your own DIY fire pit build and think the Breeo Zentro is for you, use the code “BBQLABZENTRO” at checkout to save 5% on your Breeo order.
Quick Links to the products mentioned in this post:
- Breeo Zentro (Use code BBQLABZENTRO to save 5% on your Breeo purchase)
- Breeo Adirondack Chair
- Breeo X Series Bench
- Breeo Quick Split
- Retaining wall blocks
- AirChef Torch Gun

Leave a Comment